


Yes, converting a spare bedroom into a walk-in closet is one of the most achievable projects a homeowner can take on, and most rooms qualify without a permit. Start by measuring your usable wall length, ceiling height, and window placement before you buy a single shelf. A DIY shelving setup runs a few hundred dollars; a custom-built system runs into the thousands but holds resale value better.
TL;DR:
- Most rooms qualify for a closet conversion without requiring a permit, unless adding electrical circuits, structural changes, or moving outlets.
- Room shape and size determine the best layout, with options including single-wall, L-shape, U-shape, and island designs, depending on available space.
- Budget ranges from $300 for basic DIY shelving to over $8,000 for full custom cabinetry, with timeline extending from one day to several weeks based on complexity.
- Good lighting is essential, with retrofit LED kits being the most cost-effective upgrade, and proper wiring or switch modifications requiring professional permits.
- Mounting hardware into studs, removing baseboards, and planning reversibility are key factors for a neat, professional-looking result.
Table of Contents
- How Do You Convert a Bedroom to a Closet?
- What Layout Works Best for Your Room Size?
- What Does a Bedroom-to-Closet Conversion Cost?
- Which Lighting Setup Makes Sense for a Closet?
- What Installation Details Separate DIY From Sloppy?
- What Do Real Closet Conversions Look Like?
- When Should You Hire a Custom Closet Company?
- What the Numbers Actually Tell You
- Ready for a Custom Closet Without the Guesswork?
- Codes and Guidance Worth Bookmarking
- Sources
- FAQ
How Do You Convert a Bedroom to a Closet?
Grab a tape measure before you grab a paint swatch. Record the full floor area, then measure each usable wall length separately, since windows, doors, and vents will eat into your storage plan more than most people expect. Windows bring in natural light but reduce the wall space available for hanging rods and shelving, so decide early whether you’re keeping the window as a design feature or working around it.
Ceiling height matters more than most DIYers realize. The International Residential Code sets 7 feet as the minimum ceiling height for habitable rooms, though closets and storage areas are typically exempt from that rule. The catch is that reclassifying a bedroom changes how your local code officials view the room, which can affect egress requirements if you ever convert it back or list the house for sale.
Before you touch a drill, confirm:
- Usable wall length on each side, measured in one-foot increments
- Ceiling height at the lowest point, not just the center
- Window and door swing clearance
- Existing outlets, switches, and HVAC vents
- Whether you’ll need double-hang rods (shirts, folded items) or long-hang space (dresses, coats)
Pro Tip: Aim for at least 36 inches of clear walkway anywhere you’ll be standing to dress or browse. Anything tighter feels like a hallway, not a closet.
Skip the permit application for basic shelving and rods. You’ll need one if you’re adding new circuits, moving outlets, or touching structural walls. That’s the point where a phone call to your local building department saves you a failed inspection later.
What Layout Works Best for Your Room Size?
Room shape decides your layout more than square footage does. A single 8 by 10-foot spare bedroom handles a single-wall or L-shape system comfortably. Rooms over 10 by 12 feet can support a U-shape build or even a center island, provided you keep circulation clear.
- Single-wall layout fits narrow rooms or rooms with one long uninterrupted wall. Run double-hang rods on one section to double your hanging capacity, and reserve a shorter long-hang zone for dresses and coats.
- L-shape layout uses two adjoining walls and works well in rooms with a door on a third wall. Put shoe shelves and accessory drawers in the corner, where reach is easiest.
- U-shape layout wraps three walls and turns a spare bedroom into a genuine dressing room. This needs at least 8 feet of width to keep a comfortable walkway between opposing sides.
- Island layout only works in larger rooms, generally 11 feet or wider, because you need roughly 36 inches of clearance on every side of the island for the space to function instead of feeling cramped.
Place drawers and shoe storage at hip height where you’ll actually use them, not tucked into corners you’ll forget. Long-hang space eats floor-to-ceiling room fast, so limit it to what you actually own in dresses, robes, and full-length coats. Everything else goes on double-hang.
What Does a Bedroom-to-Closet Conversion Cost?

Budget shapes almost every decision in this project, so set your range before you start sketching layouts. A basic DIY build using wire or laminate shelving kits runs $300 to $1,500, mostly for materials, hardware, and maybe a rented drill or saw. A mid-range system, whether semi-custom modular units or a mix of DIY and hired trim work, typically lands between $1,500 and $8,000. Full custom builds with built-in cabinetry, islands, and finish carpentry exceed $8,000, and project examples bear out those same three tiers.
Timeline depends on scope, not just budget:
- A weekend DIY install with prefab shelving units can be done in one to two days.
- A mid-range project with custom cuts and painting often takes one to two weekends spread over a couple of weeks.
- A fully custom design, manufacture, and installation cycle usually runs 4 to 6 weeks or longer, since cabinetry gets built to your exact measurements before installers ever show up.
Some tasks are worth hiring out even on a DIY budget. Electrical work, any structural wall changes, and finish carpentry (crown molding, flush trim, matched baseboards) are where amateur mistakes show the most and cost the most to fix. If you might sell the house in the next few years, plan for reversibility from day one. A closet system built with removable brackets and unmodified walls converts back to a bedroom in an afternoon; one with permanent built-ins and a rewired lighting circuit is a bigger lift for the next buyer.
Which Lighting Setup Makes Sense for a Closet?
Bedroom lighting is rarely enough once you’re standing in front of a mirror trying to match socks in a windowless corner. You’ve got three realistic upgrade paths, each with a different cost and time investment.
- TLED lamp swap: the cheapest, fastest option. Replace fluorescent tubes with LED tubes in an existing fixture, often in under an hour.
- Retrofit kit: costs more than a lamp swap but pays off in efficiency and compatibility with dimmers or sensors. Retrofit kits typically deliver 40% to 60% energy savings compared to older fixtures, and they install faster than a full fixture swap because they reuse the existing housing.
Occupancy sensors are worth the extra $20 to $30 per fixture in a closet, since you’re rarely in there long enough to remember to flip a switch off. Target daylight-balanced bulbs (around 4000K) for accurate color matching when you’re picking outfits.
Pro Tip: If you’re only swapping bulbs or a self-contained retrofit kit, you generally don’t need a permit. New wiring, new switch locations, or moving a fixture box does require a licensed electrician and, often, a permit.
What Installation Details Separate DIY From Sloppy?
The difference between a closet that looks store-bought and one that looks like a weekend project usually comes down to three things: studs, baseboards, and trim.
- Always anchor wall-mounted rods and shelf brackets into studs, not just drywall anchors. Weight from hanging clothes and folded stacks adds up fast.
- Remove baseboards before installing units so the system sits flush against the wall, then reinstall trim around what’s exposed for a finished look.
- Wall-mounted wire or laminate systems are the cheapest and easiest to reverse, since they leave minimal wall damage. Floor-mounted melamine or wood systems look more like a permanent built-in but are harder to undo later.
- Add one more drawer than you think you need. Drawer space is the storage type people underestimate most often.
Pro Tip: Sketch your layout with painter’s tape on the floor and walls before you cut anything. It costs nothing and catches clearance mistakes before they become expensive.
If reversibility matters to you, keep a simple checklist: use wall-mounted rather than built-in systems where possible, save the original baseboards instead of cutting them down, and photograph wall condition before installation so you know what a full restore involves.

What Do Real Closet Conversions Look Like?
Three builds show the range, from bare-bones to full custom.
- Budget hack: wire shelving, a tension rod, and a stick-on LED puck light. Costs under $400 and takes a weekend.
- Mid-range system: laminate cube shelving, a hanging rod system, drawer units, and a retrofit LED kit with a dimmer. Lands in the $2,000 to $5,000 range depending on finish quality.
- Built-in luxury: custom cabinetry, an island with drawers, a full-length mirror, and layered lighting including a chandelier or sconces. Easily clears $10,000.
Neutral wall colors and a large mirror make small closets feel bigger. Before you commit to any layout, take wide-angle “before” photos from each corner and sketch a rough floor plan. Both make it far easier to communicate with a designer or installer if you decide to bring in professional help partway through.
When Should You Hire a Custom Closet Company?
Complex layouts, tight tolerances, and a finish that has to look intentional are where DIY starts to strain. A custom closet design makes more sense once you’re dealing with angled walls, built-in islands, or cabinetry that needs to match existing trim throughout the house. Professionals also engineer systems with resale in mind, so the room can convert back to a bedroom without visible damage. Expect a free consultation, in-home measurement, a 3D design proposal, and an itemized quote before any work begins.
What the Numbers Actually Tell You
Most people over-plan the layout and under-plan the lighting. That’s backwards. A closet with a mediocre shelving arrangement but great light still functions every morning; a beautifully organized closet lit by one dim overhead bulb gets resented within a month. Measure twice, decide DIY or pro based on your actual skill with a drill, then finalize lighting last but don’t skip it. Start with a taped-out floor sketch this weekend. That alone will tell you more than another hour of browsing photos.
— Gary Pavitt
Ready for a Custom Closet Without the Guesswork?
If measuring walls and researching retrofit kits sounds like more weekend than you have, Classy Closets builds the alternative: a free in-home consultation, a 3D design of your exact room, and an itemized quote before anything gets ordered. Every system is manufactured locally and installed by their own crew, backed by a 10-year workmanship warranty, so you’re not relying on a subcontractor you’ve never met.
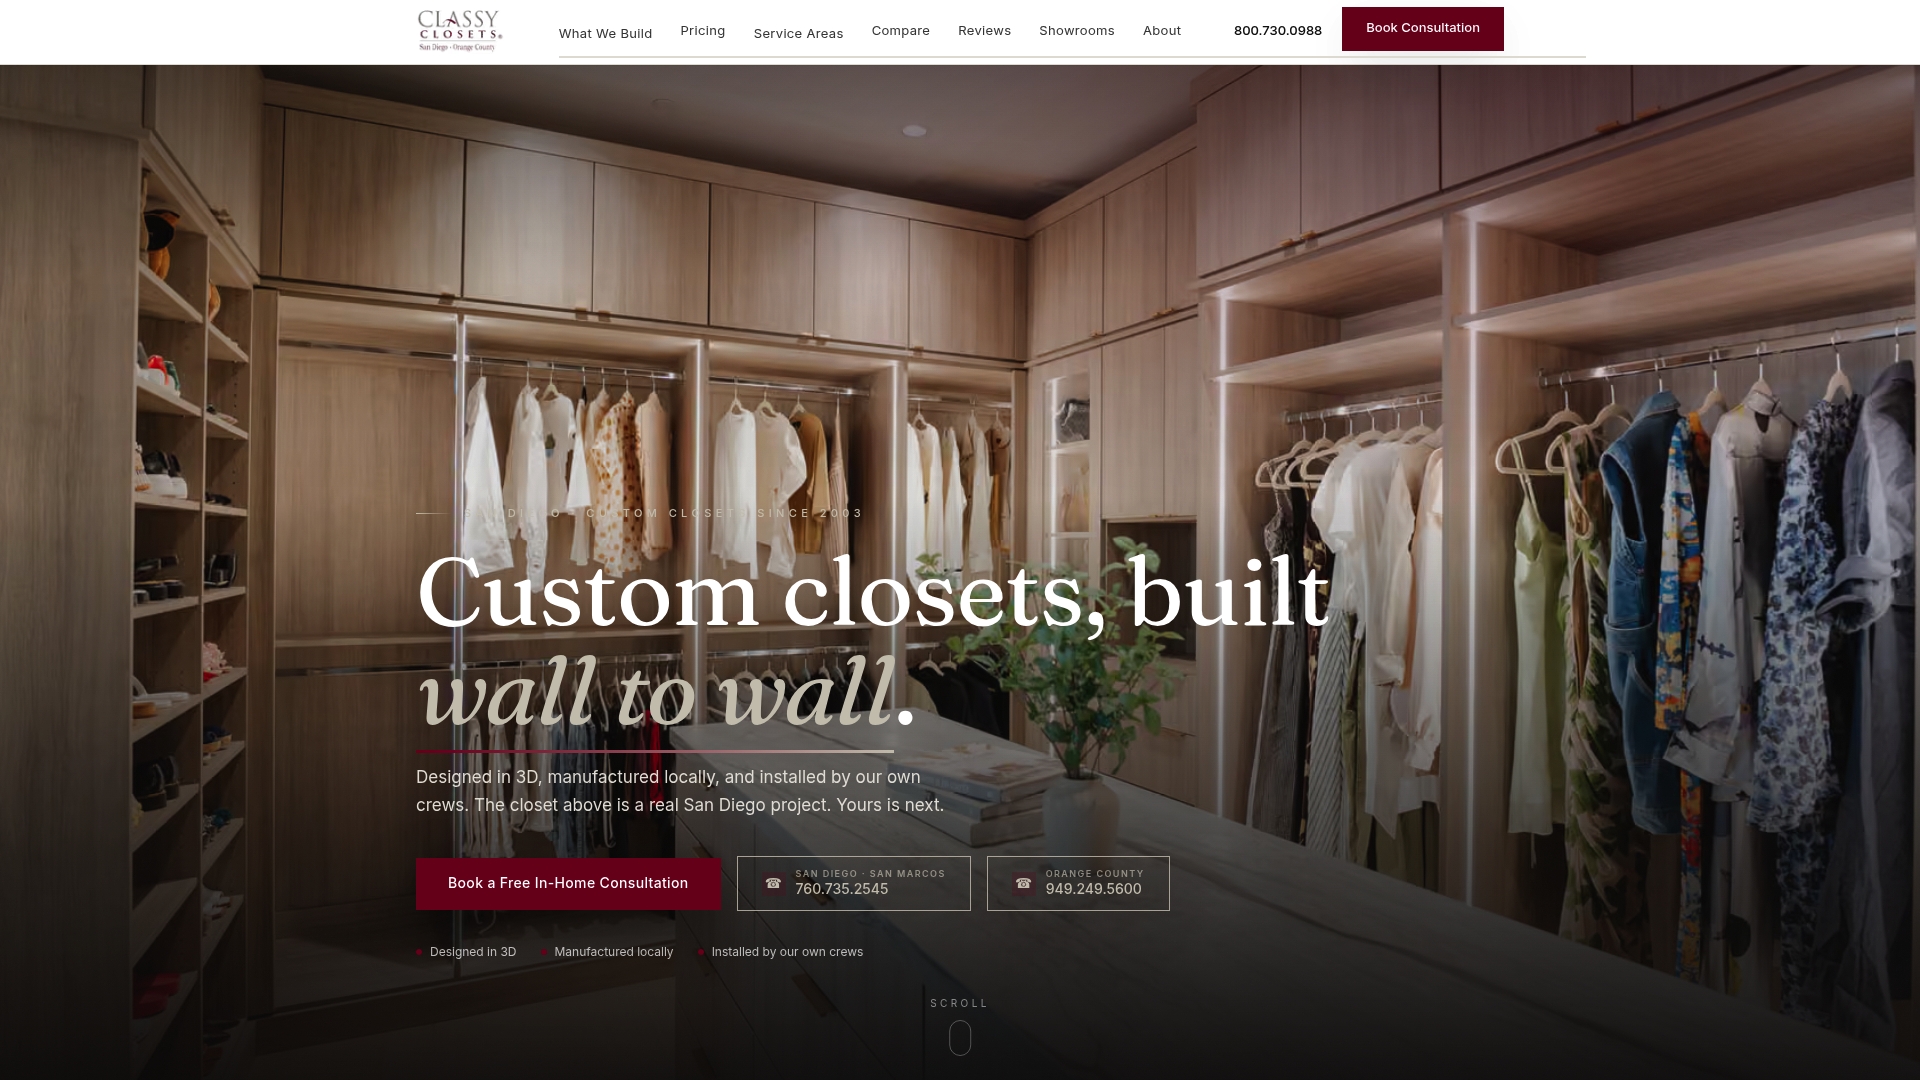
That matters most when your spare bedroom has an awkward angle, a low ceiling section, or a window you don’t want to lose light from, since those are exactly the situations where a measuring mistake gets expensive. A custom closet build starts from $3,000, while a simpler reach-in system starts from $700 for smaller spaces or tighter budgets. If your project also touches a garage, pantry, or home office, Classy Closets covers those too. Book your free 3D consultation and get a quote that itemizes exactly what you’re paying for before a single board gets cut.
Codes and Guidance Worth Bookmarking
For ceiling and habitable-space minimums, check IRC Chapter 3. For lighting retrofits, see the Department of Energy’s LED retrofit guidance. For real project costs, see Houzz’s spare-room conversion breakdown, or browse fixture and coving cost examples from Coving for feature-lighting ideas.
Sources
- IRC 2021 — Chapter 3: Building Planning (R305.1 minimum heights)
- LED and controls guidance for federal buildings (Integrated Lighting Campaign)
- Turn that spare room into a walk-in closet — Houzz
FAQ
How Much Does It Cost to Convert a Bedroom Into a Closet?
Basic DIY conversions run $300 to $1,500 in materials, mid-range systems fall between $1,500 and $8,000, and full custom builds exceed $8,000 depending on cabinetry and finish. Custom closet projects with Classy Closets start from $3,000, while a simpler reach-in setup starts from $700.
Is It Legal to Turn a Bedroom Into a Closet?
Yes, in most cases, since closets and storage rooms aren’t held to the same habitable-space rules as bedrooms. Reclassifying the room can still affect egress requirements under your local code, so check with your building department before making structural or electrical changes.
Is a Closet Required to Be in a Bedroom by Code?
Most building codes don’t require a closet for a room to count as a bedroom, though some local jurisdictions and lenders use closet presence as a factor in bedroom-count classifications for appraisals. Removing a bedroom’s closet to convert the room fully into a walk-in closet can affect how the room is classified on a future listing.
How Can I Create a Closet in a Room With No Closet?
Wall-mounted rods, shelving units, or a freestanding wardrobe can turn any wall into functional closet space without construction. For a permanent solution, a custom closet design can be built to fit an oddly shaped room or awkward corner that off-the-shelf units can’t handle well.


